Working at Form und Zeichen, we face various requirements in developing modern websites and web apps for our customers. For one of our projects, we needed a simple solution to present a 3D model on a static website. Because of the fast workflow, we use WordPress to create static websites like company websites or project websites. We were looking for tools leveraging the power of WebGL to load 3D models directly on websites and found Three.js. Three.js is a JavaScript library for easy 3D graphics creation and rendering in web browsers using WebGL that is released under the MIT license.
Now, we were working on integrating Three.js with WordPress to create an efficient and streamlined solution for better page speed and easy management of multiple 3D models being loaded on the website.
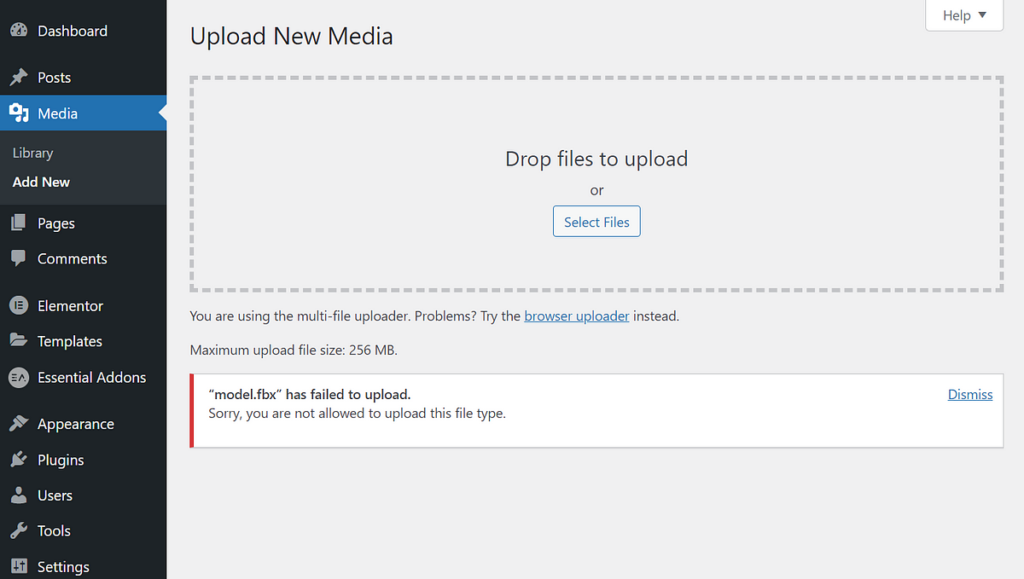
The first step is to allow the file types of our 3D models in the WordPress Media Library. By default, 3D file types like FBX are not allowed. If you want to upload your files via FTP or SSH, you can skip this step.
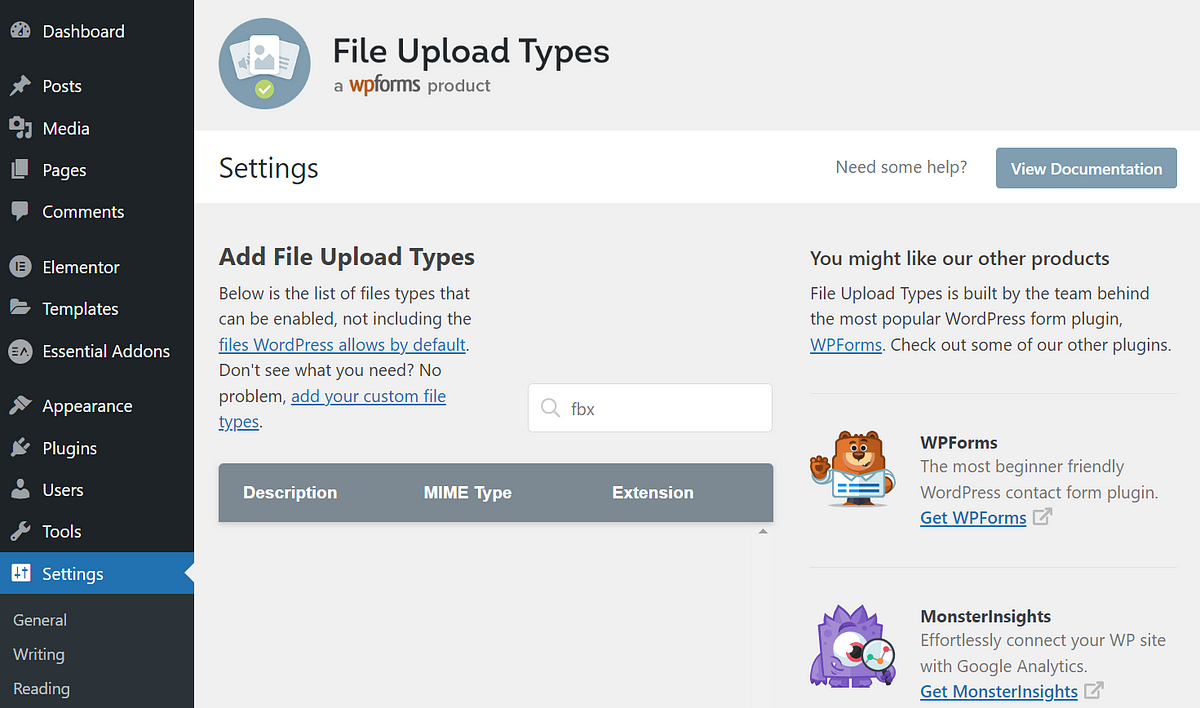
To allow custom file types, I recommend the usage of File Upload Types by WPForms. Once installed and activated, you can search for the file types you need and activate them. For our project, we needed FBX. FBX is supported by a wide variety of 3D modeling programs and is well-supported in Three.js too. Unfortunately, FBX is not in the file types list of the plugin, so we have to add a custom file type by clicking the link below the heading “Add File Upload Types”.
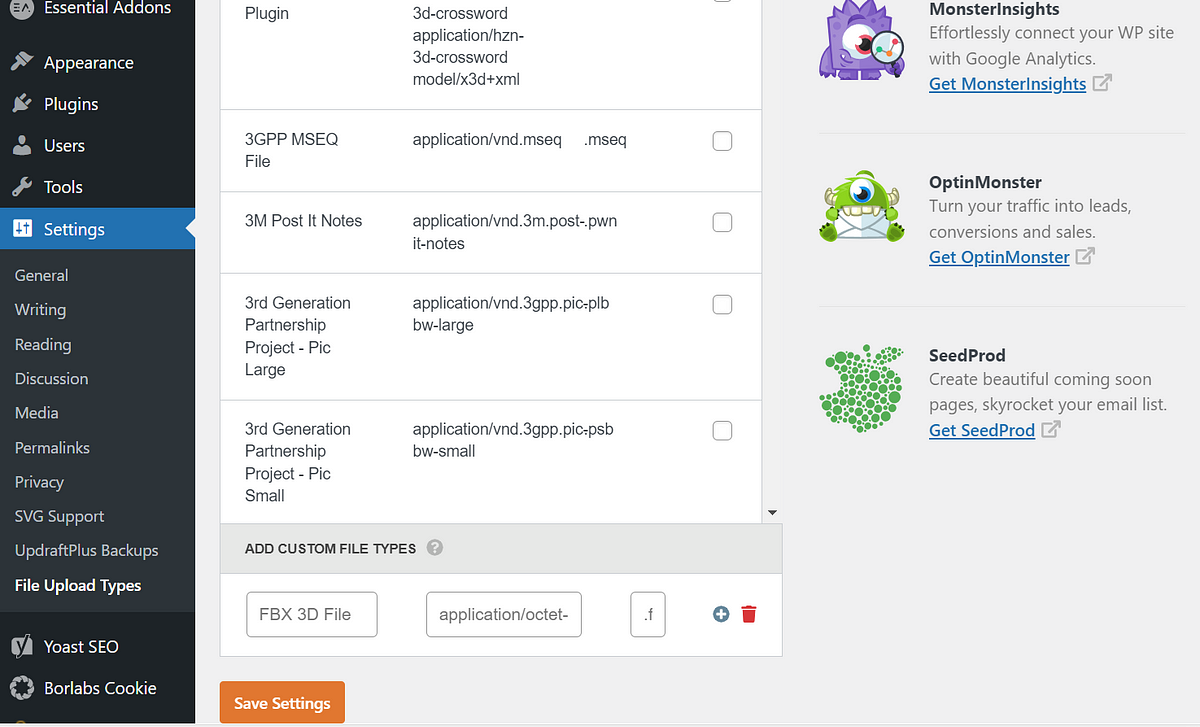
To add FBX we need to input a name, the MIME type, and the extension. For the name, we chose “FBX 3D File”. The MIME type can be retrieved from digipres.com. In our case, it is “application/octet-stream”.
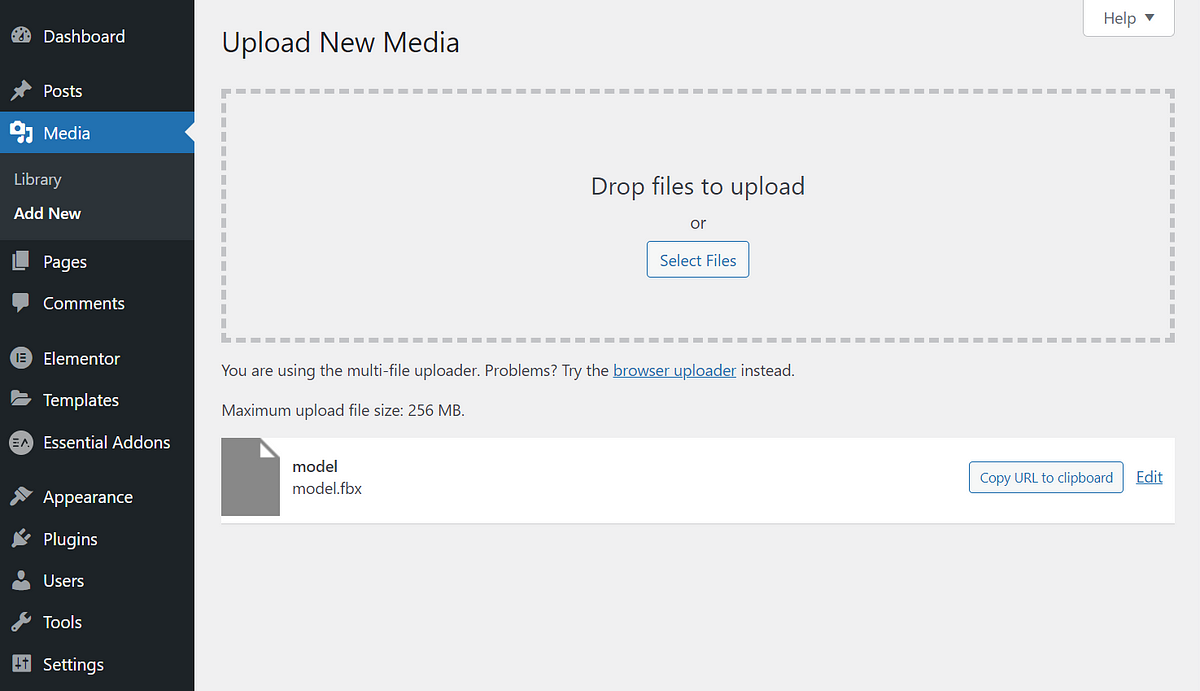
When we try to upload the model again, it works as expected.
There are different ways to add custom scripts to a WordPress site. As we use Elementor for our WordPress sites, we use Elementor’s built-in tool. For development purposes, you can use this code to load Three.js on your website:
					<script async src="https://unpkg.com/es-module-shims@1.6.3/dist/es-module-shims.js"></script>

<script type="importmap">
  {
    "imports": {
      "three": "https://unpkg.com/three@0.152.0/build/three.module.js",
      "three/addons/": "https://unpkg.com/three@0.152.0/examples/jsm/"
    }
  }
</script>
Note, that you can change the Three.js version by changing it in the links. In our case, we used version 0.152.0. You can find the newest releases on github.com.
Also, be sure to download all scripts and serve them from your server in a production environment.
To optimize page speed, you should load this script only on pages that use Three.js.
To load a model on a page, we need to use the HTML element of Elementor. On the Three.js examples page, you can find the used script tag by inspecting the website. With a few adoptions, we can use those examples on our Elementor page.

We used this example and made it responsive, by changing the width each time the resize event is triggered. Note, that we added a DIV element as a container for the 3D model. If you add more than one model to a single page, you have to use different IDs for your containers.
					<script type="module">
 import * as THREE from 'three';
 import { OrbitControls } from 'three/addons/controls/OrbitControls.js';
 import { GLTFLoader } from 'three/addons/loaders/GLTFLoader.js';
 import { RGBELoader } from 'three/addons/loaders/RGBELoader.js';

 let camera, scene, renderer;
 let width = 500;
 let height = 400;

 init();
 render();

 function init() {
  const container = document.getElementById("container");
  width = container.parentNode.offsetWidth;

  camera = new THREE.PerspectiveCamera(45, width / height, 0.25, 20);
  camera.position.set(- 1.8, 0.6, 2.7);

  scene = new THREE.Scene();

  new RGBELoader()
   .setPath('https://threejs.org/examples/textures/equirectangular/')
   .load('royal_esplanade_1k.hdr', function (texture) {
    texture.mapping = THREE.EquirectangularReflectionMapping;

    scene.background = texture;
    scene.environment = texture;

    render();

    // model
    const loader = new GLTFLoader().setPath('https://threejs.org/examples/models/gltf/DamagedHelmet/glTF/');
    loader.load('DamagedHelmet.gltf', function (gltf) {
     scene.add(gltf.scene);
     render();
    });
   });

  renderer = new THREE.WebGLRenderer({ antialias: true });
  renderer.setPixelRatio(window.devicePixelRatio);
  renderer.setSize(width, height);
  renderer.toneMapping = THREE.ACESFilmicToneMapping;
  renderer.toneMappingExposure = 1;
  container.appendChild(renderer.domElement);

  const controls = new OrbitControls(camera, renderer.domElement);
  controls.addEventListener('change', render); // use if there is no animation loop
  controls.minDistance = 2;
  controls.maxDistance = 10;
  controls.target.set(0, 0, - 0.2);
  controls.update();

  window.addEventListener('resize', onWindowResize);
 }

 function onWindowResize() {
  width = container.parentNode.offsetWidth;
  camera.aspect = width / height;
  camera.updateProjectionMatrix();

  renderer.setSize(width, height);

  render();
 }

 function render() {
  renderer.render(scene, camera);
 }
</script>
<div id="container"></div>
When loading our FBX model, we have to set up lighting. Three.js provides a great example of an FBX model with animation. We can use the same approach as before to modify the code to our needs. For the FBX model, though, we added multiple direct lights and one hemisphere light to properly illuminate our object.
					<script type="module">
	import * as THREE from 'three';

	import { OrbitControls } from 'three/addons/controls/OrbitControls.js';
	import { RGBELoader } from 'three/addons/loaders/RGBELoader.js';

	import { FBXLoader } from 'three/addons/loaders/FBXLoader.js';

	let camera, scene, renderer, mixer;

	let width = 600;
	const height = 400;

	const container = document.getElementById("container");

	width = container.parentNode.offsetWidth;

	init();
	render();

	function init() {
		camera = new THREE.PerspectiveCamera(45, width / height, 1, 2000);
		camera.position.set(300, 100, 300);

		scene = new THREE.Scene();

		const hemiLight = new THREE.HemisphereLight(0xffffff, 0xcccccc, 5);
		hemiLight.position.set(0, 400, 0);
		scene.add(hemiLight);

		const dirLight = new THREE.DirectionalLight(0xffffff, 2.5);
		dirLight.position.set(0, 200, 200);
		dirLight.castShadow = true;
		dirLight.shadow.camera.top = 180;
		dirLight.shadow.camera.bottom = - 100;
		dirLight.shadow.camera.left = - 120;
		dirLight.shadow.camera.right = 120;
		scene.add(dirLight);

		const dirLight2 = new THREE.DirectionalLight(0xffffee, 1);
		dirLight2.position.set(400, 0, -100);
		dirLight2.castShadow = true;
		dirLight2.shadow.camera.top = 180;
		dirLight2.shadow.camera.bottom = -100;
		dirLight2.shadow.camera.left = - 120;
		dirLight2.shadow.camera.right = 120;
		scene.add(dirLight2);

		const dirLight3 = new THREE.DirectionalLight(0xffffff, .5);
		dirLight3.position.set(-400, 0, 0);
		dirLight3.castShadow = true;
		dirLight3.shadow.camera.top = 180;
		dirLight3.shadow.camera.bottom = -100;
		dirLight3.shadow.camera.left = - 120;
		dirLight3.shadow.camera.right = 120;
		scene.add(dirLight3);

		// ground
		const mesh = new THREE.Mesh(
			new THREE.PlaneGeometry(2000, 2000),
			new THREE.MeshPhongMaterial({ color: 0x999999, depthWrite: false })
		);
		mesh.rotation.x = - Math.PI / 2;
		mesh.receiveShadow = true;
		scene.add(mesh);

		const grid = new THREE.GridHelper(2000, 20, 0x000000, 0x000000);
		grid.material.opacity = 0.2;
		grid.material.transparent = true;
		scene.add(grid);

		scene.background = new THREE.Color().setHex(0xeeeeee);

		// model
		const loader = new FBXLoader();
		loader.load('https://threejs.org/examples/models/fbx/Samba Dancing.fbx', function (object) {
			mixer = new THREE.AnimationMixer(object);

			if (object.animations.length) {
				const action = mixer.clipAction(object.animations[0]);
				action.play();
			}

			object.traverse(function (child) {
				if (child.isMesh) {
					child.castShadow = true;
					child.receiveShadow = true;
				}
			});

			scene.add(object);

			render();
		});

		renderer = new THREE.WebGLRenderer({ antialias: true });
		renderer.setPixelRatio(window.devicePixelRatio);
		renderer.setSize(width, height);
		renderer.toneMapping = THREE.ACESFilmicToneMapping;
		renderer.toneMappingExposure = 1;
		renderer.shadowMap.enabled = true;
		container.appendChild(renderer.domElement);

		const controls = new OrbitControls(camera, renderer.domElement);
		controls.addEventListener('change', render); // use if there is no animation loop
		controls.minDistance = 100;
		controls.maxDistance = 500;
		controls.target.set(0, 0, - 0.2);
		controls.update();

		window.addEventListener('resize', onWindowResize);
	}

	function onWindowResize() {
		width = container.parentNode.offsetWidth;

		camera.aspect = width / height;
		camera.updateProjectionMatrix();

		renderer.setSize(width, height);

		render();
	}

	function render() {
		renderer.render(scene, camera);
	}
</script>
<div id="container"></div>
Did you enjoy reading this post? If so, we would greatly appreciate it if you could take a moment to share it with your friends and colleagues on social media. Sharing valuable content helps us to spread knowledge and inspire others. Thank you for your support!